How to Configure PXE Server to install SuSE Linux Enterprise Server 11
In this post, we will discuss how do we configure the PXE server to install SuSE Linux Enterprise server OS into Clients. A similar post on CentOS/RHEL 7 can be found on the following link:
Breaking down the task to configure PXE Server, Here is the list:
- DHCP server ( To provide IP address to client )
- Apache2 Server configuration ( To transfer the DVD image to Client for OS installation)
- TFTP server configuration ( To Transfer the PXE kernel and other supporting files to Client System )
Check the version of SUSE Linux using the following command.
# cat /etc/SuSE-release

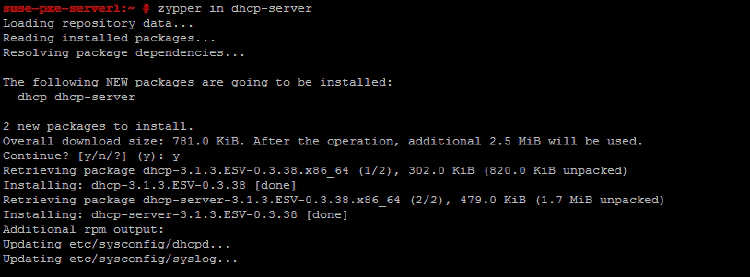
Let us configure DHCP Server first. For that we need to install the dhcp-server package into server. I am using Zypper to install dhcp server pakage. Or else you could run #yast dhcp-server to install and configure dhcp server.
# zypper in dhcp-server
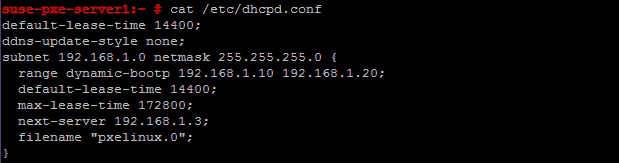
Now configure dhcp server. Edit the /etc/dhcpd.conf and update the following entries. (Move original /etc/dhcpd.conf file to some other name and create new dhcpd.conf with the following entries). Here IP range is from 192.168.1.10 to 192.168.1.20
default-lease-time 14400;
ddns-update-style none;
subnet 192.168.1.0 netmask 255.255.255.0 {
  range dynamic-bootp 192.168.1.10 192.168.1.20;
  default-lease-time 14400;
  max-lease-time 172800;
  next-server 192.168.1.3;
  filename "pxelinux.0";
}
Update the /etc/sysconfig/dhcpd file with the following entries.
DHCPD_INTERFACE="eth0"

Restart the dhcpd service and enable it on start-up using the following command.
# rcdhcpd restart
# chkconfig --level 35 dhcpd on

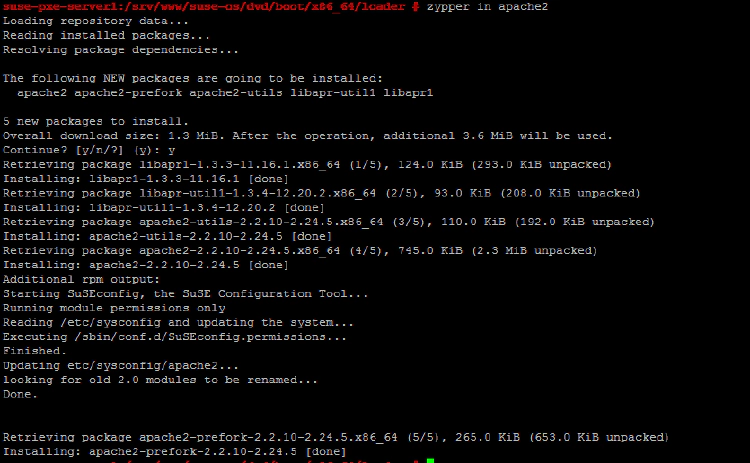
Step1 is finished. Now let’s configure http to share the DVD image. Install the apache2 package using the following command.
# zypper in apache2
Mount the SuSE Linux DVD into /srv/www/suse-os/dvd directory.
# mkdir -p /srv/www/suse-os/dvd
# mount /dev/sr0 /srv/www/suse-os/dvd

DVD is mounted, make the mount point persistent across reboot. Add the following entry in /etc/fstab:
/dev/sr0 /srv/www/suse-os/dvd iso9660 defaults 0 0
I am going to configure a virtual host in apache to provide the DVD image. Create a file named suse-os.conf under /etc/apache2/vhosts.d/ and add the following lines into suse-os.conf file.
<VirtualHost *:80>
    ServerAdmin [email protected]
    ServerName pxe-suse.vinizlinux.com
    DocumentRoot /srv/www/suse-os
    <Directory "/srv/www/suse-os">
       Options Indexes FollowSymLinks
       AllowOverride None
       Order allow,deny
       Allow from all
    </Directory>

</VirtualHost>

Start the apache using:
# rcapache2 start

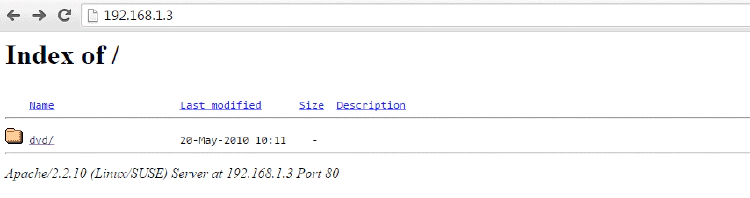
And enable the apache at startup using chkconfig on and then check the apache in a web browser.
# chkconfig --level 35 apache2
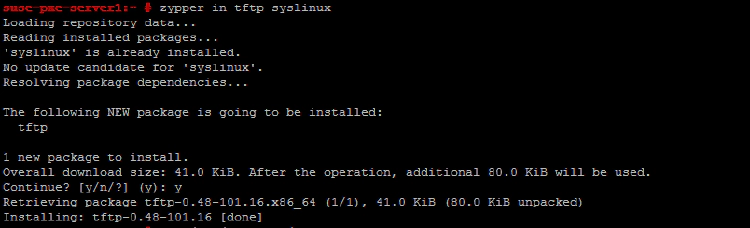
Now the final part let us work on tftp part. For configuring tftp we need to install the tftp package also we need the syslinux package which contains the pxelinux kernel to boot the client from the PXE server. Run the following command to install tftp and syslinux package.
# zypper in tftp syslinux
Edit the tftp configuration file /etc/xinetd.d/tftp and change the following line to “no”.
disable = no

create the tftpboot directory under / and create the pxelinux.cfg directory under /tftpboot.

Now copy the pxelinux.0 file to /tftpboot.
# cp /usr/share/syslinux/pxelinux.0 /tftpboot/
We need to copy some more supporting files for PXE boot for that we need to mount the SuSE OS DVD.
# mkdir -p /srv/www/suse-os/dvd
# mount  /dev/sr0 /srv/www/suse-os/dvd
This same mount point can be used in Apache for giving the OS image to PXE clients. cd to /srv/www/suse-os/dvd/boot/x86_64/loader/ directory where we have the kernel, initrd, boot tests etc.
# cd /srv/www/suse-os/dvd/boot/x86_64/loader/
# cp linux initrd bootlogo memtest message biostest /tftpboot/
Copy the isolinux.cfg file to /tftpboot/pxelinux.cfg/ as default:
# cp isolinux.cfg /tftpboot/pxelinux.cfg/default

Now edit the default file and provide the installation source and method of installation. here I am using ssh based SuSE installation. You could use vnc or ssh to do installation. Entries in the default file is shown below.

Now restart the xinetd services using the following command. and enable it on startup.
# rcxinetd start
# chkconfig --level 35 xinetd on
This installation is not fully automatic we need to give some inputs to complete the installation. For the automated installation we need to configure autoyast. Now, let’s boot the client and check whether it is able to boot or not. Yes !! Yes!! it’s able to boot from PXE Server.
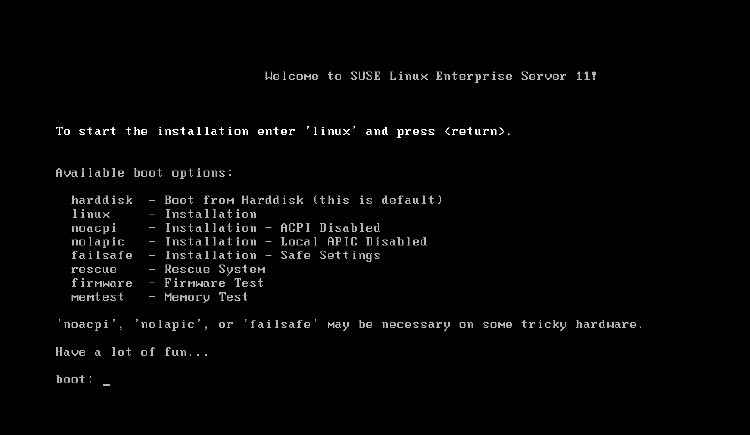
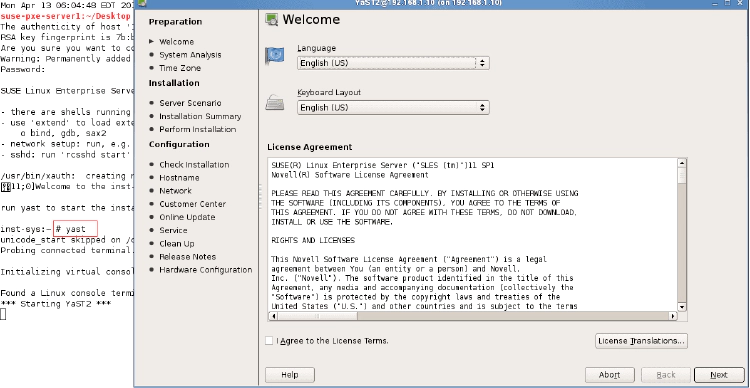
Now type linux on the prompt it will start installation. After some time you will see the following screen to start the installation. You need to connect this client from anywhere using ssh to provide inputs for finishing the installation.
Here we are using ssh -X, and X is for X11/X.org forwarding. Let us connect the client and check the installation.
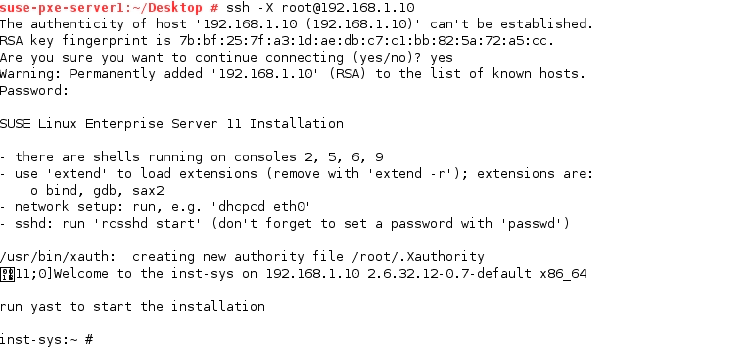
Now run yast on prompt it will open a GUI interface to start the installation. Follow the on-screen options and finish the installation.